
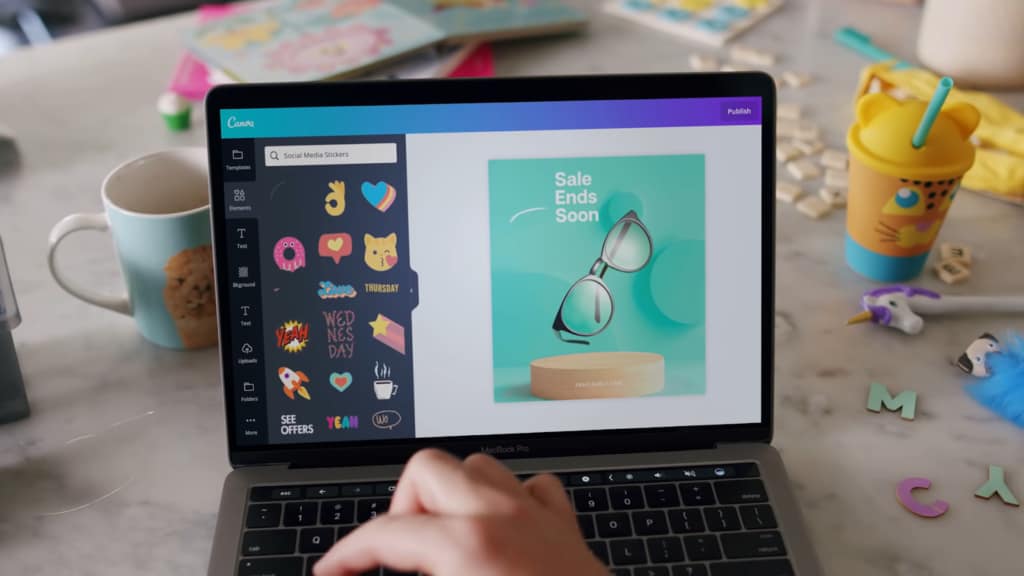
Canva stands out as a user-friendly graphic design tool that offers the ability to craft high-quality visuals with ease, bypassing the complexity and expense of advanced software like Photoshop. It’s important to recognize that Canva has its constraints; there are numerous advanced features in more sophisticated programs like Illustrator that Canva doesn’t provide. Yet, for crafting clean and attractive graphics, Canva serves as an excellent choice, particularly for those not well-versed in intricate design software.
When you’re ready to download your Canva creation, you’ll want to ensure it exudes professionalism—free from any graininess, blurriness, or pixelation. To achieve this, one must be mindful of the image resolution, specifically in DPI (Dots Per Inch). After learning how to make an image 300 DPI in Canva, the next practical skill to explore is how to flip an image in Canva, as detailed in our upcoming article.
This guide will take you step-by-step through the process of producing images at 300 DPI with Canva, the optimal resolution for printed materials. Whether you’re designing a t-shirt, a brochure, or a poster, you’re in the right spot!
Understanding the Constraints of DPI Adjustment in Canva
Resizing an image in Canva comes with certain limitations, particularly when it comes to adjusting the DPI—a feature that remains inaccessible in both the free and premium versions of the platform.
For Canva Pro subscribers, image resizing is straightforward through the ‘Resize’ feature accessible at the top of the Canva interface.
You’re free to modify the dimensions manually or select from previously utilized sizes, giving you flexibility within the given parameters. Yet, it is crucial to note that altering the DPI of an ongoing Canva project is not an option.
Canva’s Export Resolutions for Various File Types
Typically, Canva exports projects at a DPI of 96, which is adequate for most digital needs and ensures images will display crisply on websites while facilitating faster loading times on varying internet speeds.
For printing purposes, such as creating a poster, a higher DPI of 300 is necessary to prevent the final print from appearing blurred or pixelated.
Despite the need for higher DPI in print, Canva does not offer a direct export option for 300 DPI in PNG or JPG formats. The solution to obtain a high-resolution output lies in exporting the design in PDF Print format.
Crafting High-Resolution Designs in Canva
Follow these instructions to produce a high-resolution 300 DPI image using Canva’s templates. Before you begin, ensure you are signed into your Canva account.
Step 1: Initiating a New Design
- Navigate to the ‘Create a Design’ option on Canva’s main page, situated in the upper-right corner;
- Choose your desired design type to commence a new project.
Step 2: Choosing the Right Dimensions for High Resolution
- In Canva, you’re presented with various dimensions and file types;
- For a 300 DPI output, you must select the PDF Print format—currently the sole option for this resolution in Canva;
- There are numerous dimensions available that are tailored for print.
Step 3: Uploading Your Starting Image
Begin your design by uploading an image from your computer or selecting from Canva’s extensive collection of complimentary stock images through the ‘Uploads’ feature.
Step 4: Customizing Your Design
- After uploading your image, enhance your design by adding text and other creative elements using the Text or Elements functions;
- Canva’s user-friendly interface allows for seamless design creation, complemented by a plethora of tutorials and guides available online.
Step 5: Saving and Sharing Your High-Resolution Design
When your design meets your satisfaction, download it directly to your device. The download will default to PDF format due to the PDF Print selection. For obtaining a PNG or JPG version, continue to the subsequent steps outlined later in this guide. Additionally, Canva provides options to share your design directly on social media or via email.
Creating 300 DPI Images with Canva & Converters
This guide details how to achieve a high-resolution image from Canva using an external conversion service for formats other than PDF.
Streamlining High-Resolution Image Creation and Conversion
Step 1: Finalize Your Canva Design
Begin by completing your design in Canva, as outlined in the initial steps—selecting images, adding elements, and finalizing your layout. Ensure all edits are complete to avoid repeating the export and conversion process.
Step 2: Download Your Design in PDF Format
Proceed to download your creation in PDF Print format to preserve the high resolution. Despite Canva’s default PNG recommendation, choose PDF Print for printing purposes to maintain 300 DPI quality.
Step 3: Employ a Third-Party Conversion Tool
Since Canva doesn’t offer a direct export to 300 DPI PNG or JPG, utilize an online conversion tool. A simple web search for a “PDF to JPG” or “PDF to PNG” converter will yield numerous free options. These tools operate within your browser, negating the need for downloads.
Follow the conversion website’s instructions: upload your PDF, choose your desired output format, and adjust settings to 300 DPI. PNG is optimal for web use due to its lossless compression, while BMP offers raw, edit-friendly high-quality output, albeit with larger file sizes. JPG is ubiquitous for its balance of quality and compressed file size, ideal for print designs.
Select your format, adjust the resolution to 300 DPI, and initiate the conversion to finalize your high-quality design for its intended use.
Ensuring Correct DPI on Mac and Windows Systems
After downloading your image, verify its resolution to confirm it matches the intended DPI, avoiding any last-minute surprises regarding image quality.
Each operating system provides methods to check DPI, which may vary with file types. Here’s a brief on how to perform this check on Mac and Windows platforms.
Mac users can check an image’s DPI with ease:
- Open the image;
- Press Command + I or navigate to Tools > Show Inspector in Preview;
- Under the ‘More Info’ section in the Inspector, look for the DPI value;
- This method suits both PNG and JPG formats. A DPI reading other than the expected value indicates a need for re-exporting and adjusting the image settings.
For JPEGs:
- Right-click the image and select Properties;
- Click the Details tab to see horizontal and vertical resolutions;
- Remember, if the resolution isn’t 300 DPI, adjustments and re-exporting may be necessary.
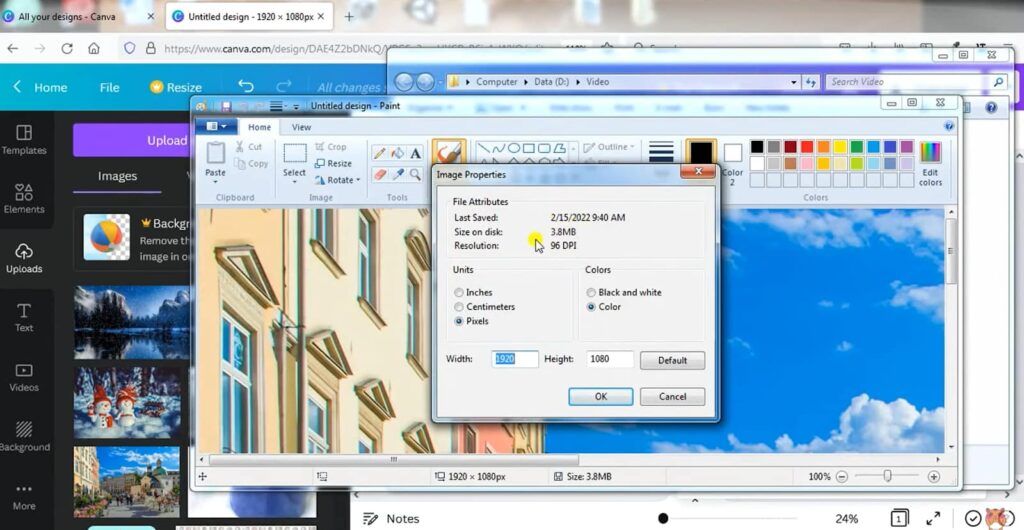
For PNG images, Windows does not display DPI information in the file properties. Instead, use Paint to find the DPI:
- Right-click on the PNG file and choose Open With > Paint;
- In Paint, click File > Properties or use the shortcut Ctrl + E;
- The Properties window will show the image’s resolution as DPI, which ideally should be 300 for high-quality prints.
Conclusion
The resolution of an image is crucial, especially for printed designs where imperfections are more noticeable. Investing extra effort in ensuring the right resolution can significantly enhance the final product, preserving the value of your hard work. This guide aims to help you achieve that level of detail and perfection in your designs.